 |
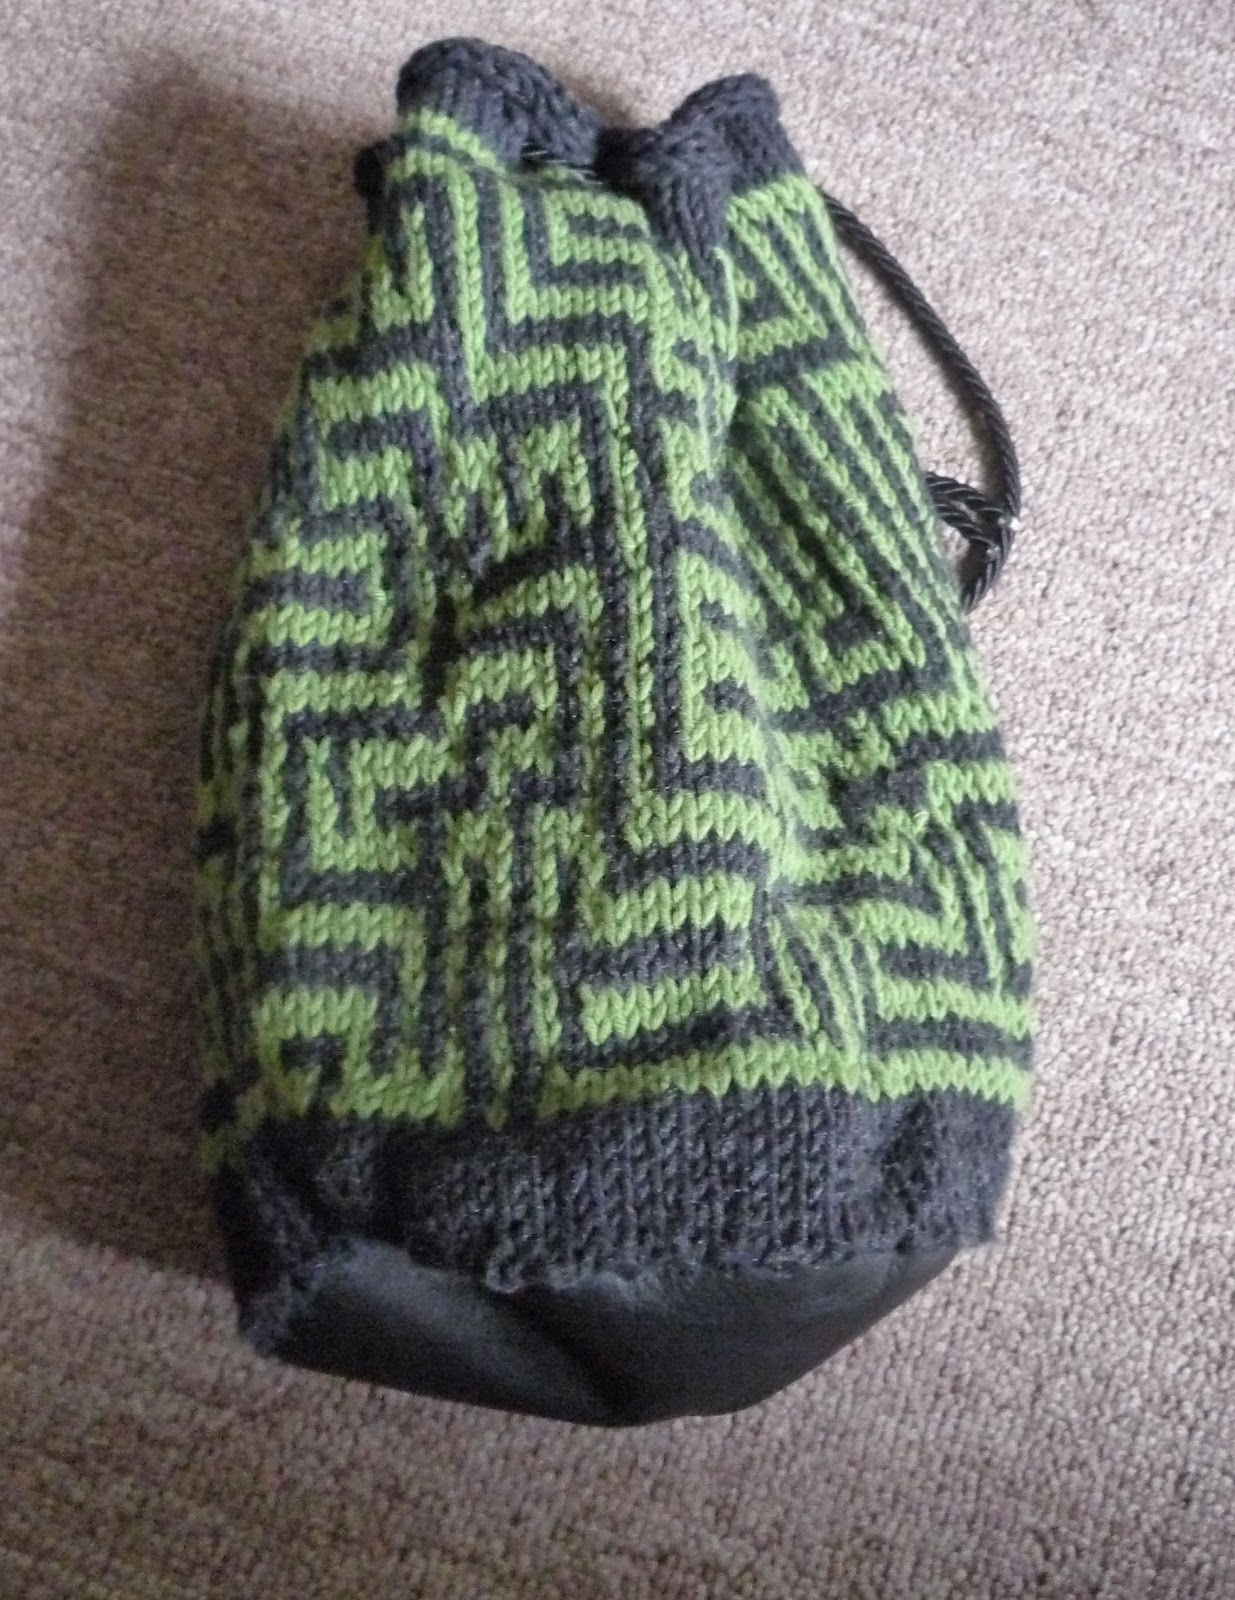
| Labyrinth bag blocking |
Step one was to block it so it would hold it's shape. This was easy to do- lightly wet your bag (the wetter it is, the longer to dry so you ideally want it just damp- or do this on a stinking hot day). Then put it into the final shape. I achieved this by rolling up a towel until it was the desired internal diameter and placed it inside. If sitting it upright like I did to allow it to dry evenly, then safety pins can be useful to hold the top up.

Next sew the sides together and check they fit around your base. Tiny confession here- technically my sides were about 3cm too short to fit around my base. But felt is forgiving and by the time it was put into a bag I figured it wouldn't matter. Fit the base around the sides and use safety pins to hold in place and to ensure your sewing will be even. Then just stitch the base on. You can see mine below with the cool matching green thread.


Once done, place into your bag and check for fit. My sides were about 2cm too long. You could cut the excess off or you can fold over and hold in place. I chose the latter.

When finished thread a cord through the eyelets. I used satiny cord- little tip. If using something like that the ends will LOVE to fray or unravel. CAREFULLY IN A WELL VENTILATED AREA use a lighter to set the ends on fire. The synthetic material will melt and hold the end together. Be sure to let it cool before touching it (or letting it touch anything else).
That's pretty much it. One Labyrinth bag, suitable for holding knitting project, lovely jewels, crystal balls, or supplies for 13 hours travelling through a Labyrinth.
No comments:
Post a Comment
I love comments! But spammers, not so much. Hence why it will take a day or so for comments to appear.